Assembling pantilt 2021 and 2022
Note
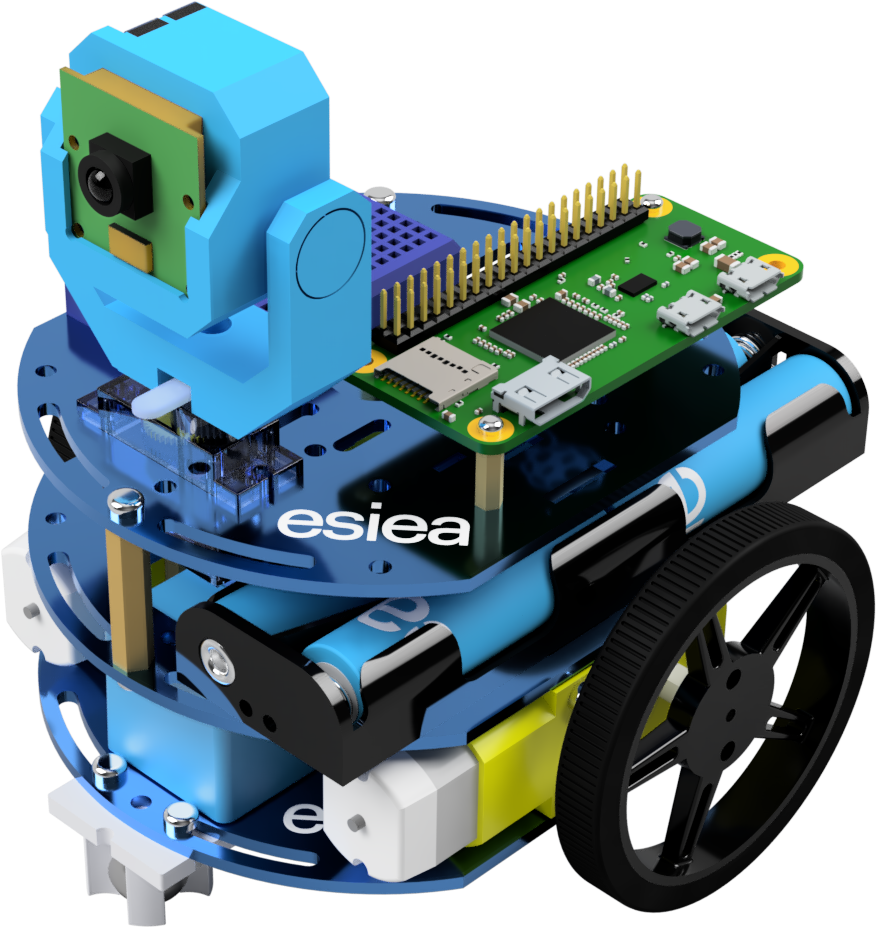
This is the manual for the esieabot 2021 and 2022 camera pantilt. This documentation is based on the manual distributed at the time to students. It is not intended to be used for other versions of the esieabot.
Inventory
Image |
Description |
Quanty |
|---|---|---|
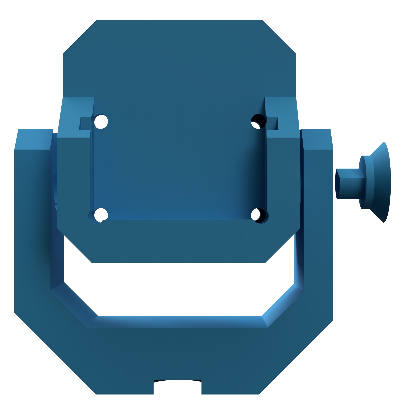
|
3D printed kit. Check Build a pantilt 2021 and 2022. |
1 |
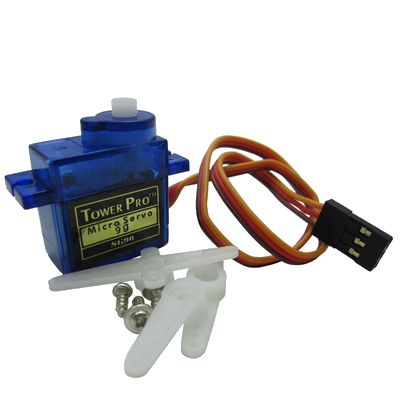
|
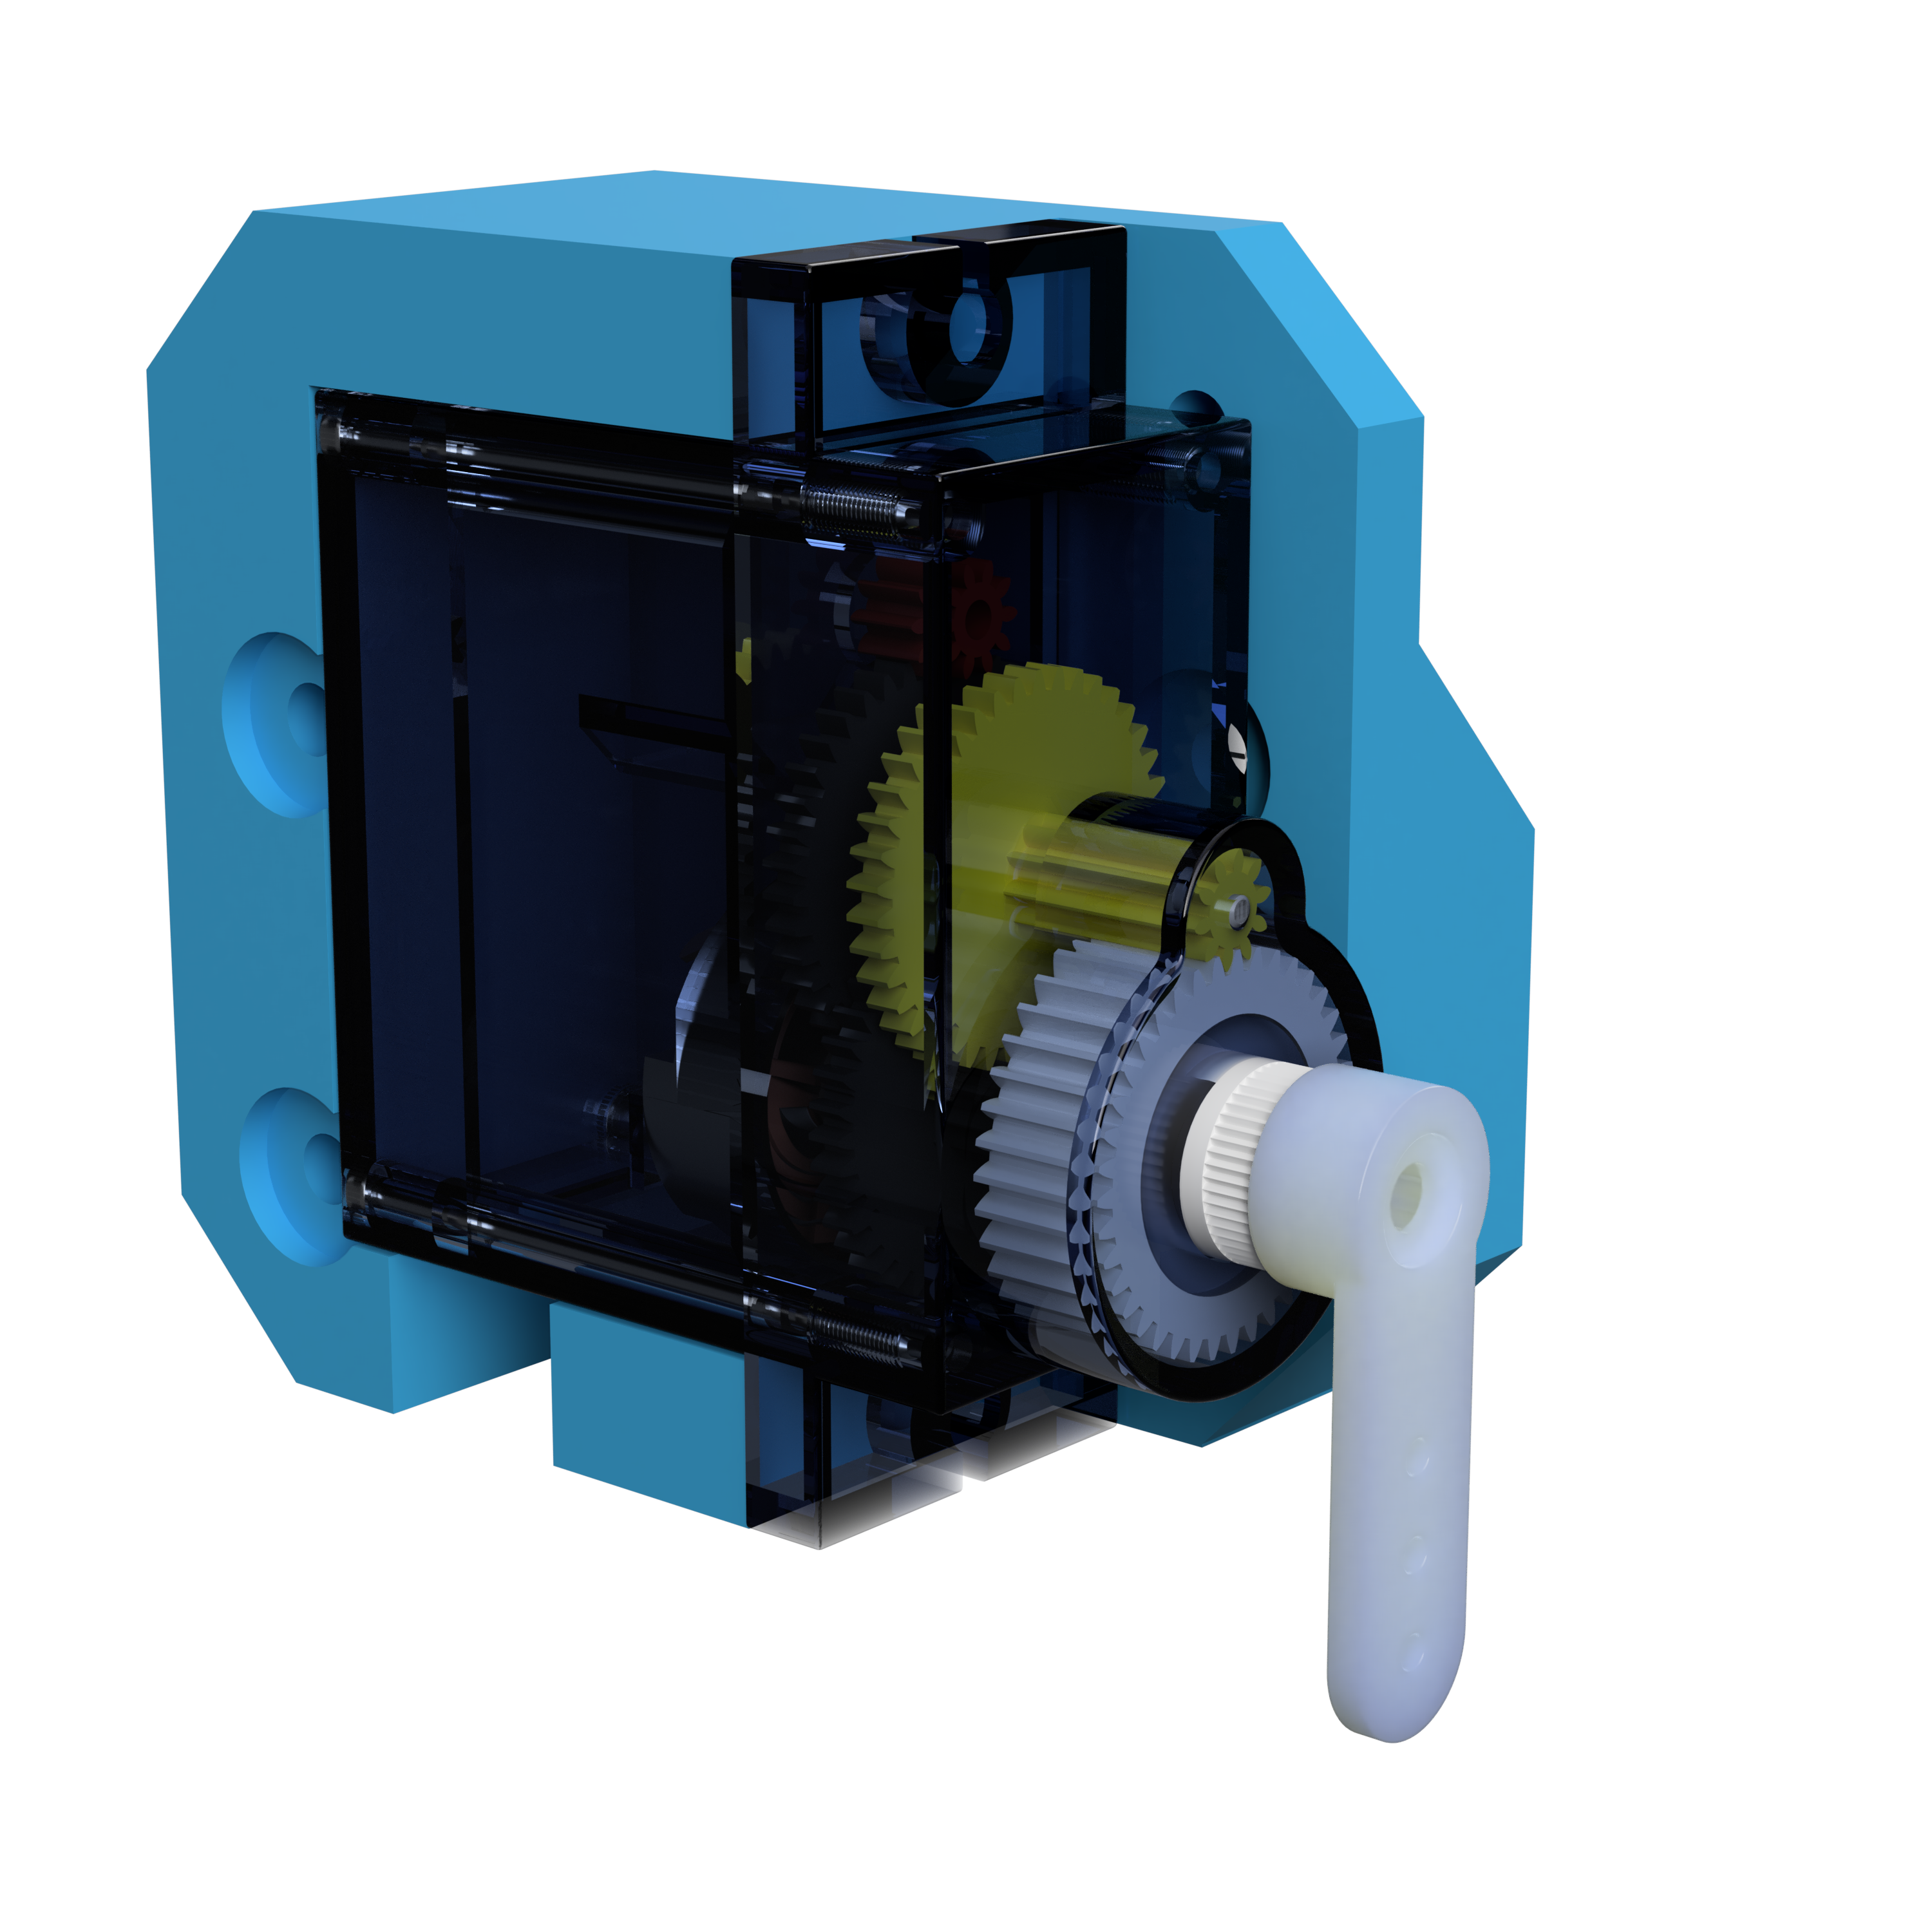
Servomotor 9g |
2 |
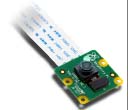
|
Camera like Raspberry Pi Camera 1.2 |
1 |
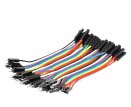
|
M/F wire |
2 |
|
M/M wire |
4 |
Step 1
Position and screw one of the servo motors in the slot provided.
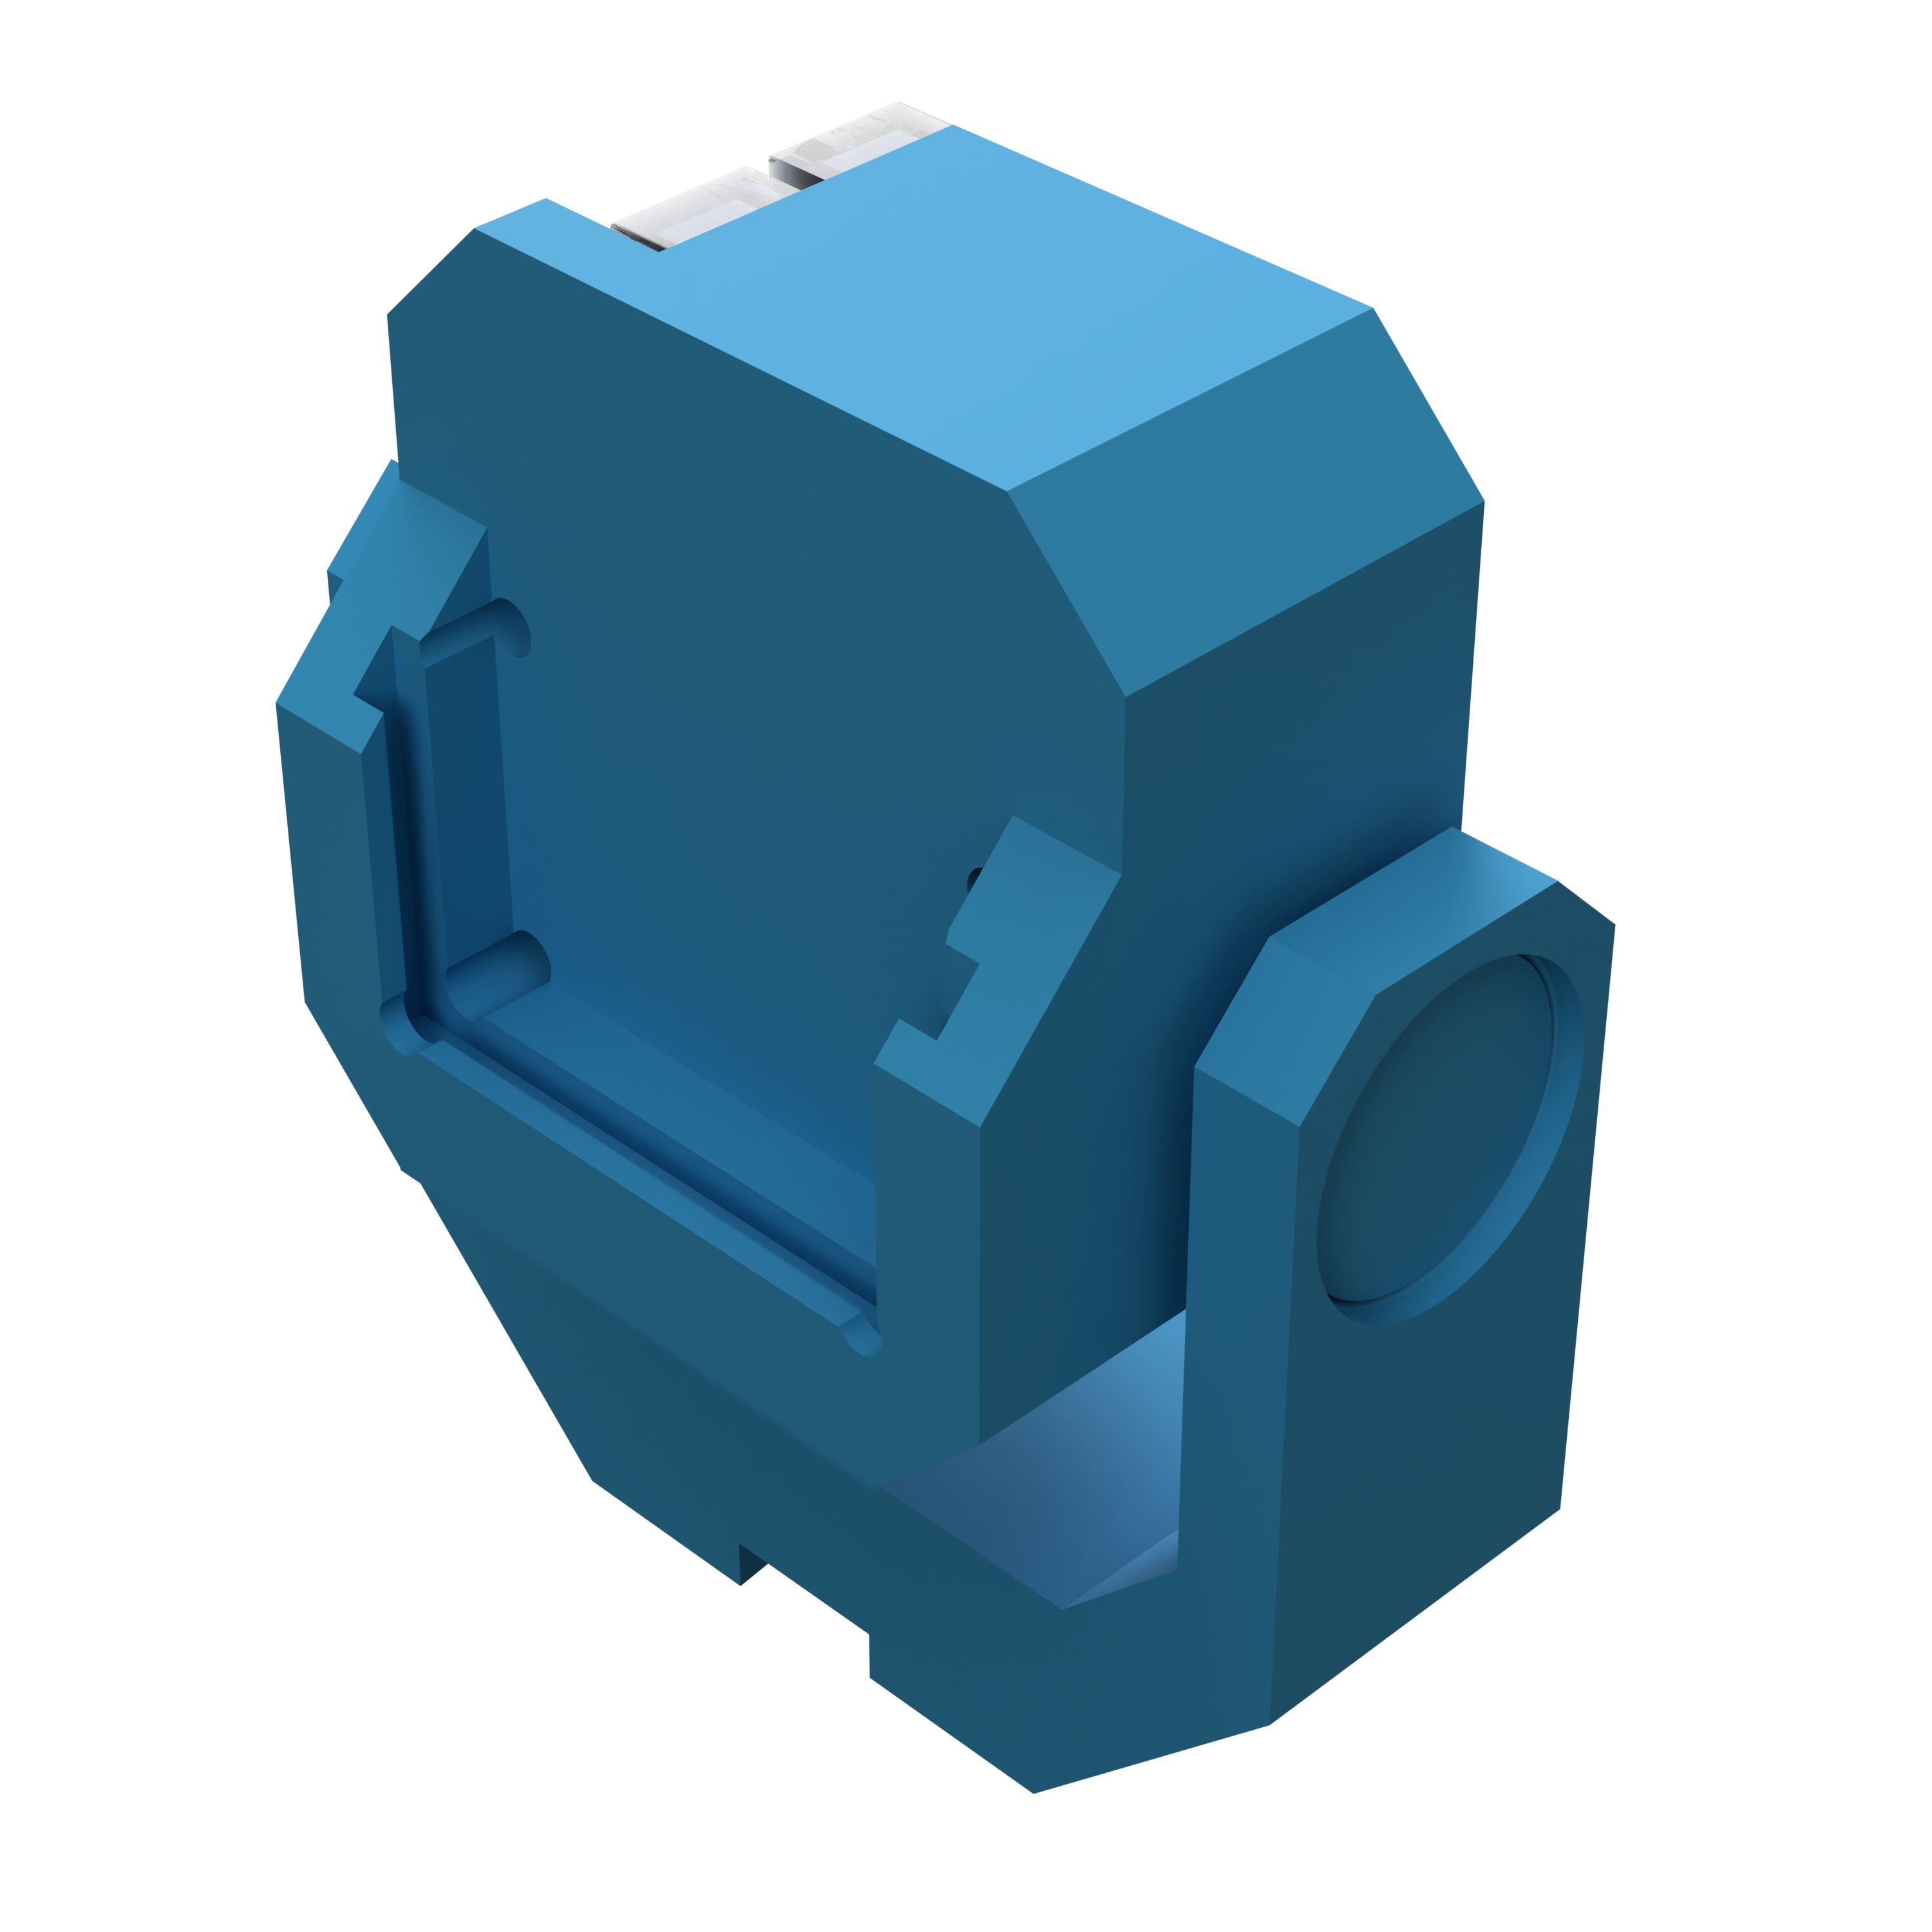
Step 2
Position and screw the U-shaped part of the pantilt on the servo motor.
Step 3
Take the second servo motor and position it like this on the corresponding plastic part. Put on the servo the white piece provided with it as shown.
Step 4
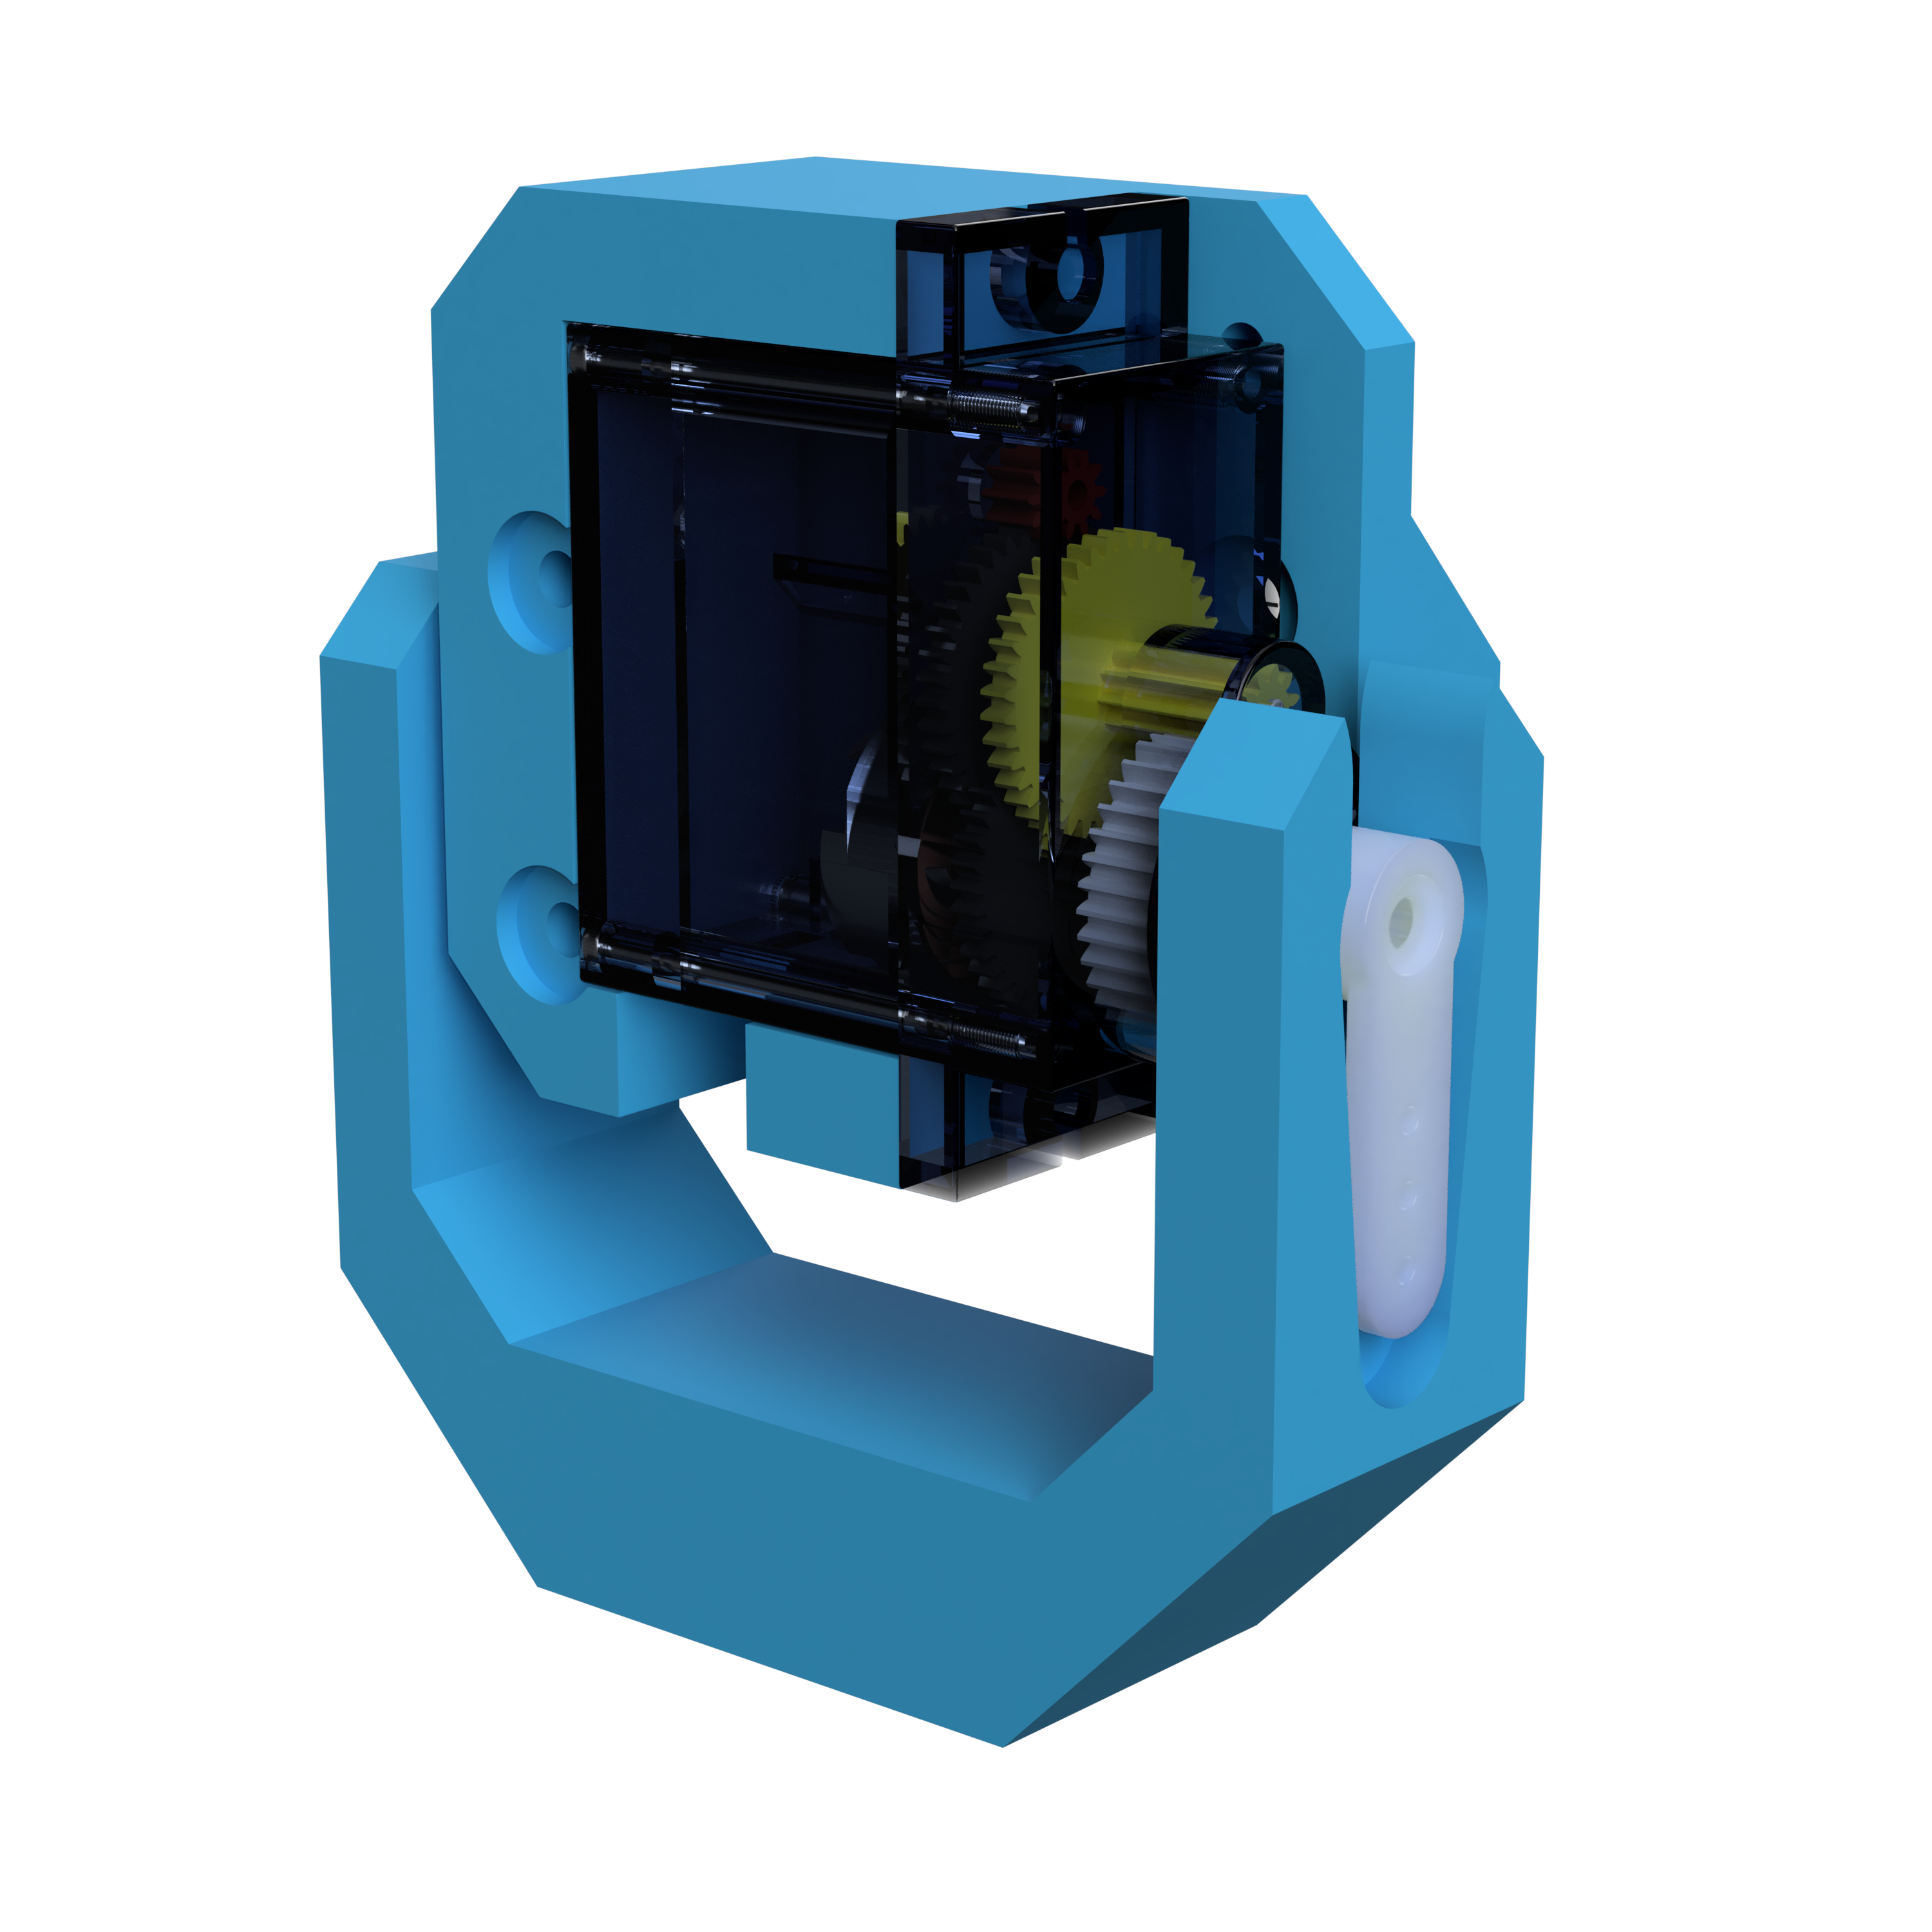
Assemble the 2 servo motors and their plastic supports like this.
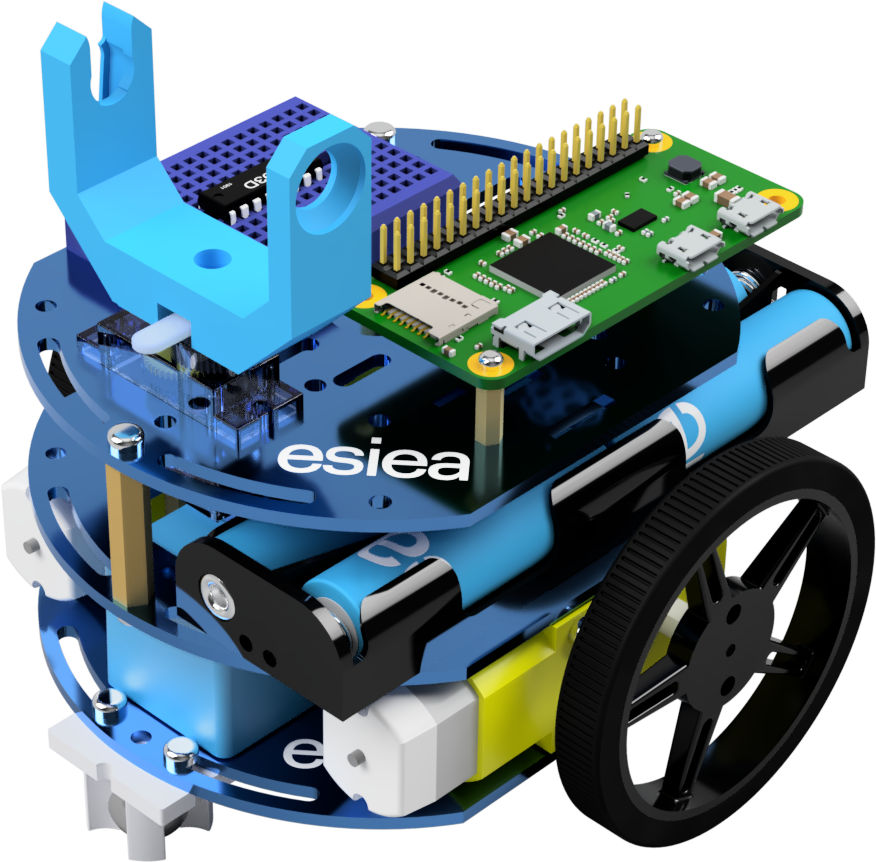
Step 5
Take the last plastic piece and position it to secure the whole.
Step 6
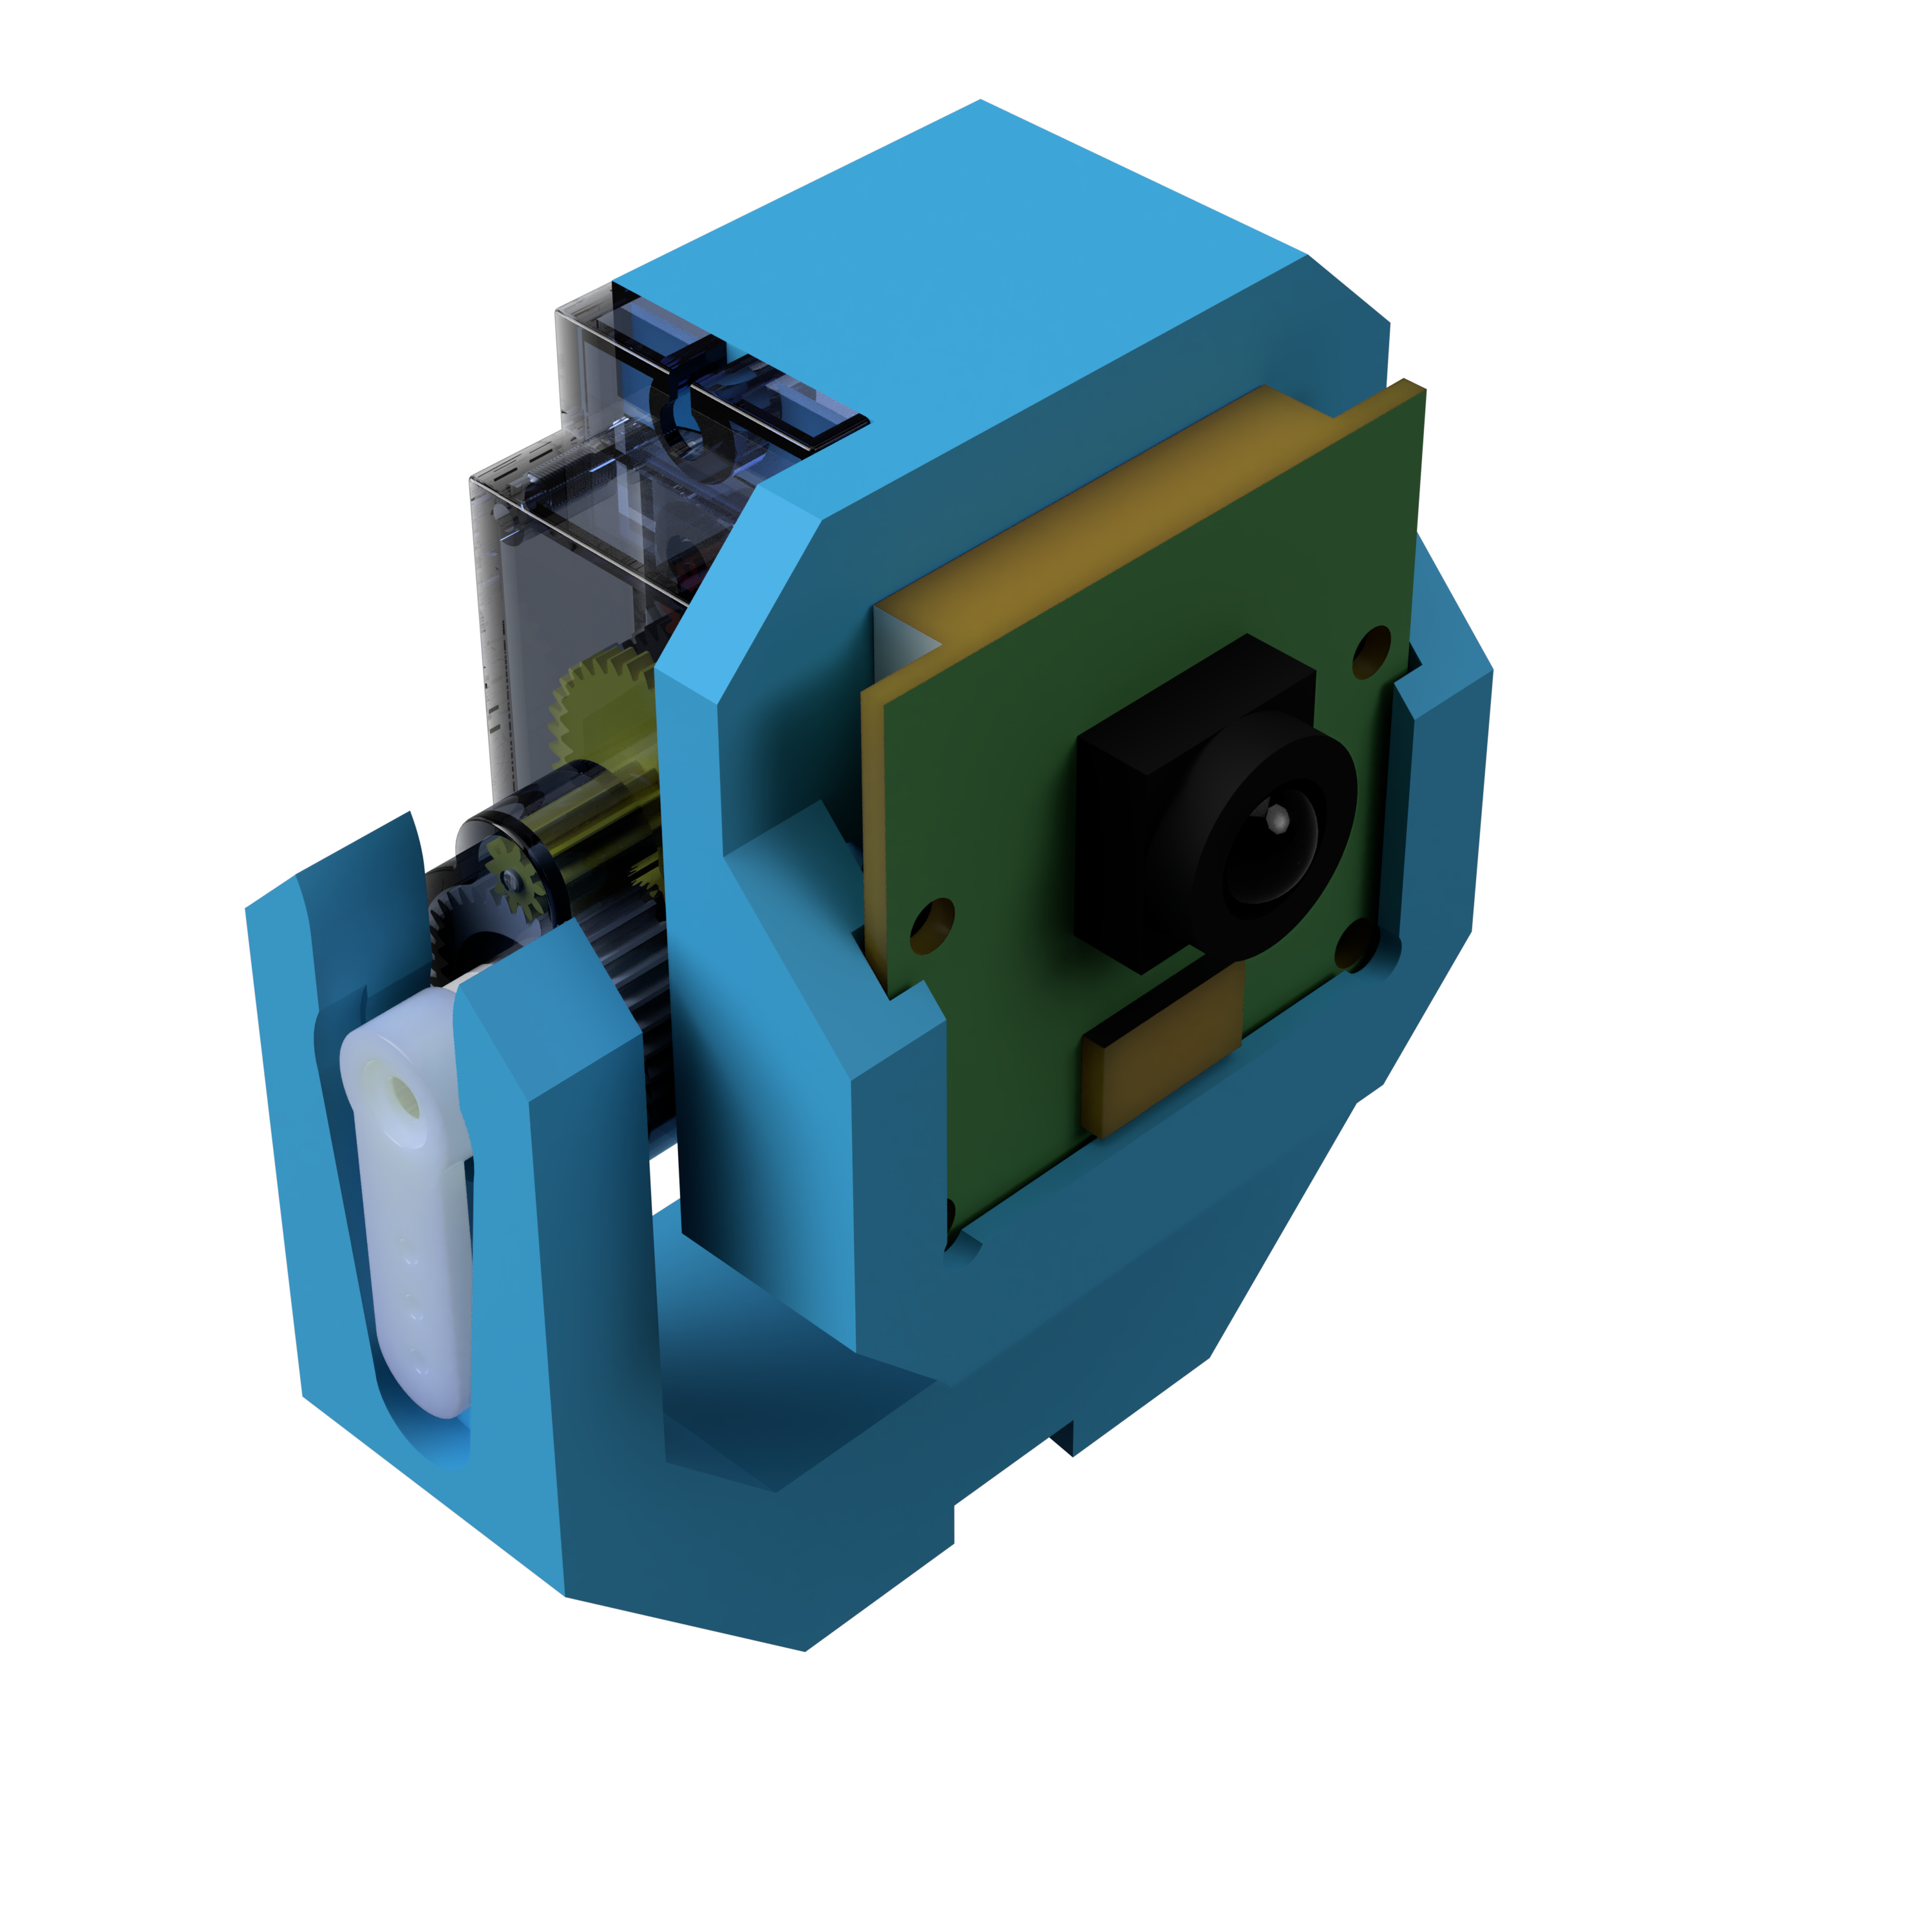
Install the camera in the place provided for this purpose.
Warning
The camera cable is rather fragile. Handle it with care.
Step 7
Note
If you have an esieabot 2023 or later, you can simply connect the two servo motors to the add-on board. The following steps are not necessary.
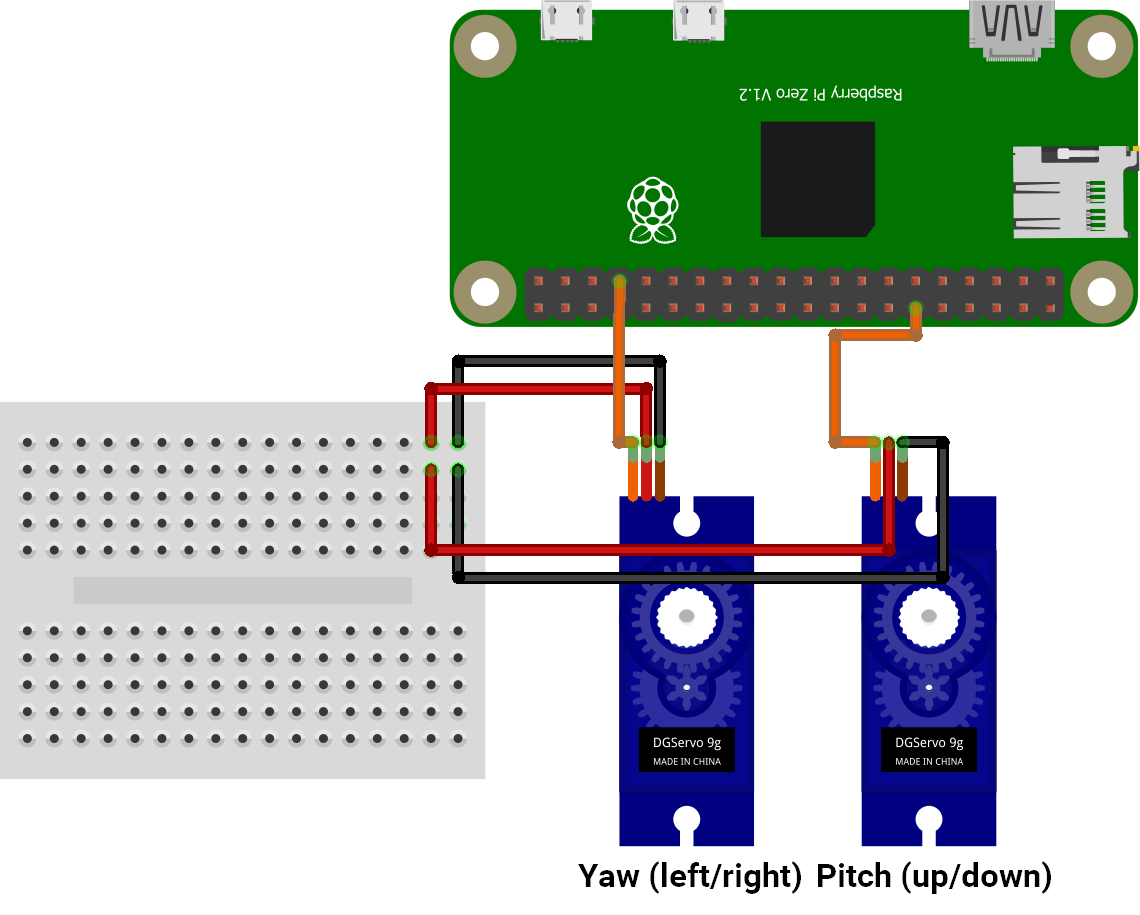
Connect the servo motors like this. The location of the wires on the breadboard should match the location of the motor batteries.
Step 8
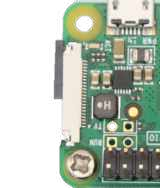
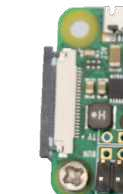
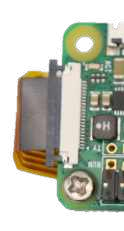
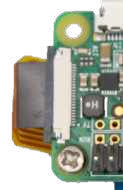
Connect the camera by gently push the black part of the connector away, insert the cable as shown and put the black part as it was. Do the same at the camera side. The black side of the wire should be facing the camera sensor.
Warning
You must shutdown your Raspberry Pi before plugging the camera in.
Step 9
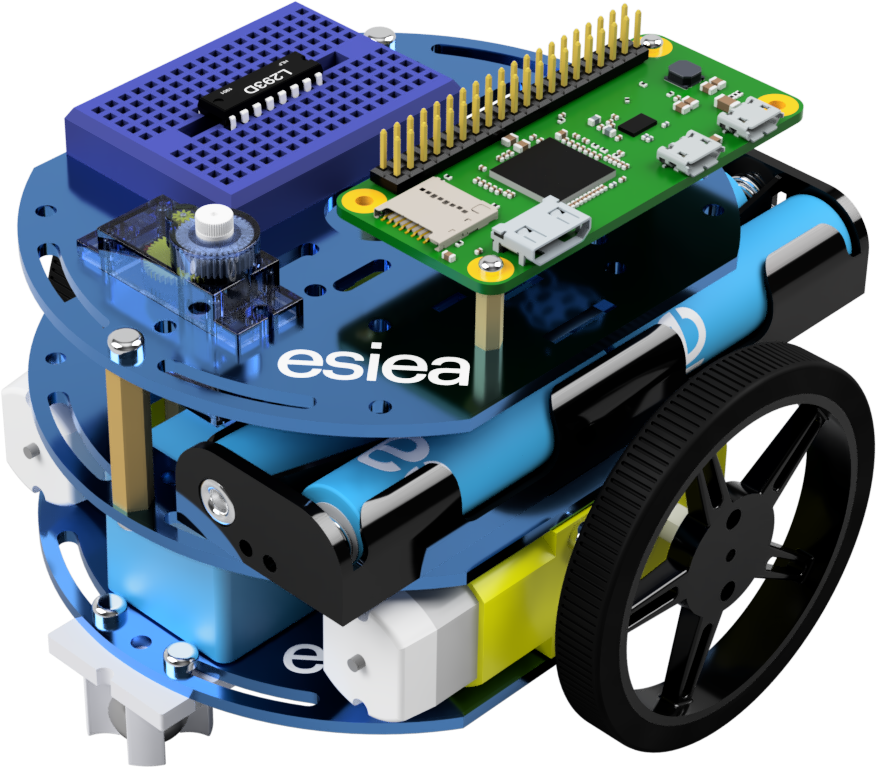
Congratulations, your esieabot is now complete!