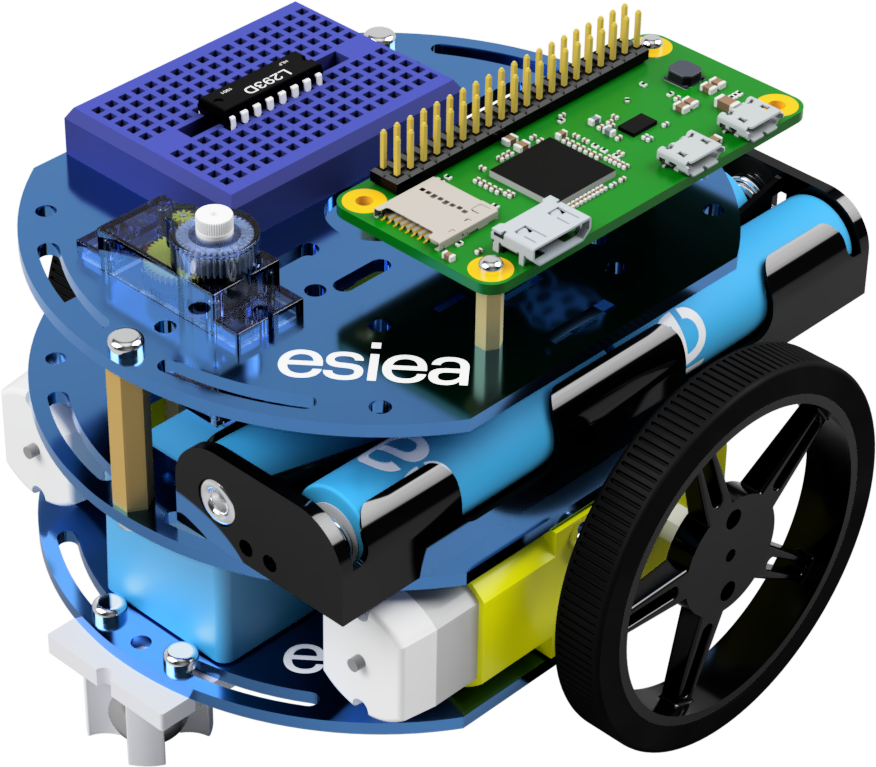
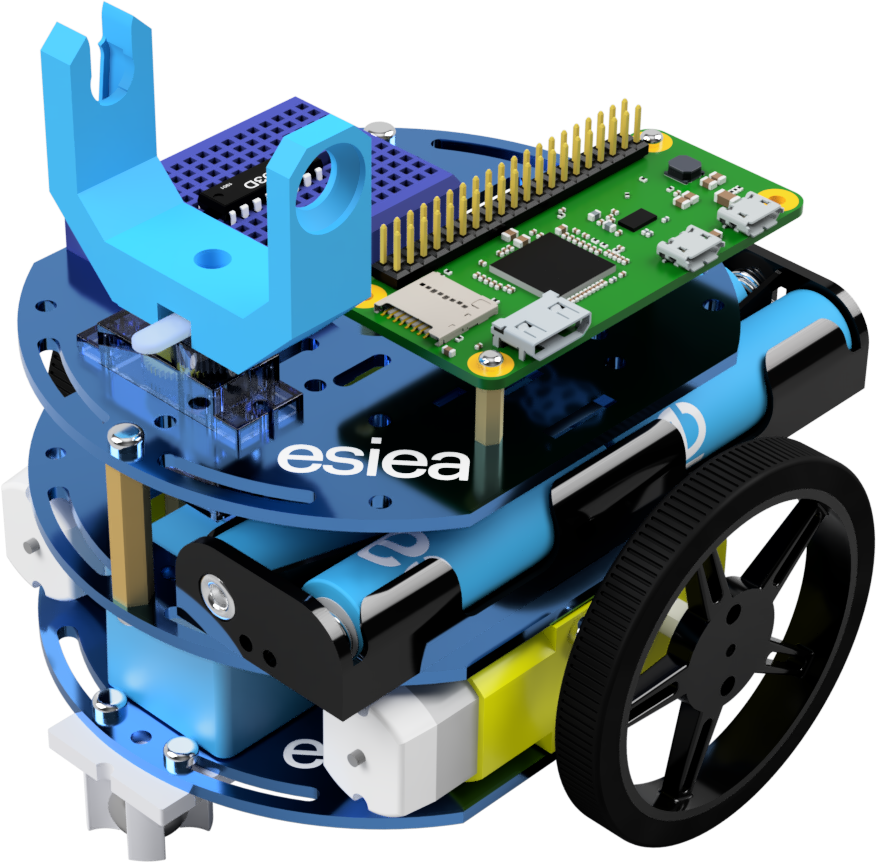
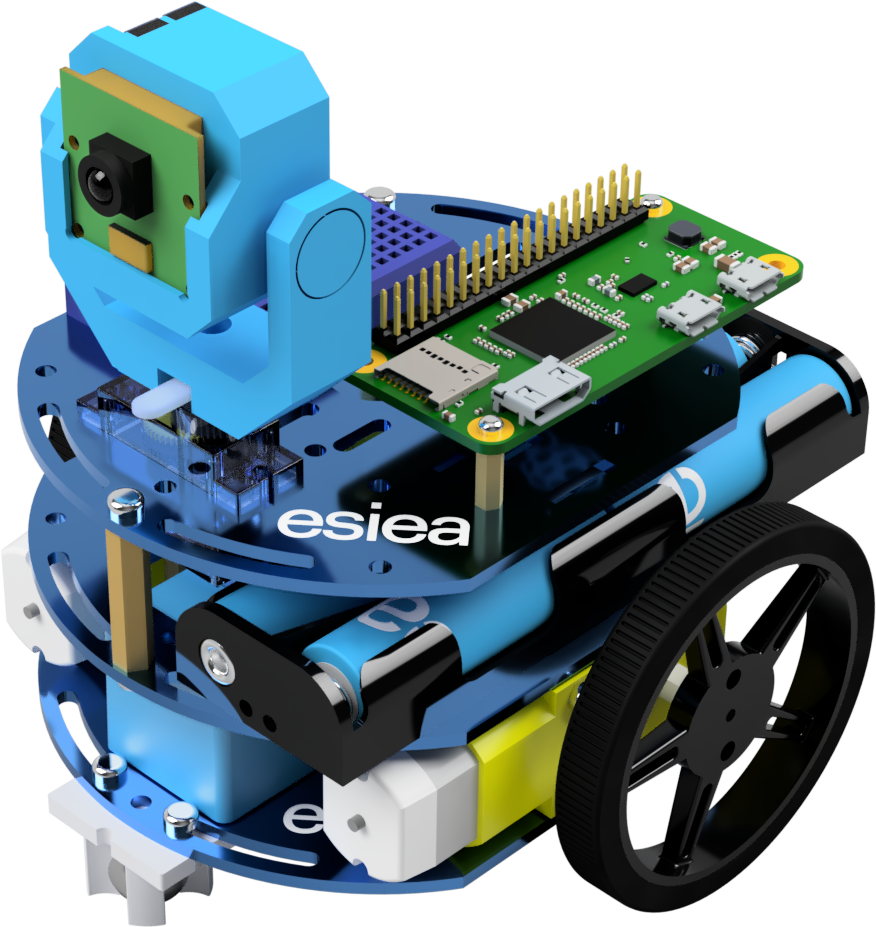
Upgrade your esieabot to version 2024
Upgrade from esieabot 2020, 2021, or 2022
In progress
Upgrade from esieabot 2023
Step 1
Remove the 4 screws from the bottom.
Step 2
Remove the bottom plate.
Step 3
Remove the 2 motors and the 3 screws holding the intermediate plate.
Step 4
Take the intermediate plate and remove the old battery holder.
Step 5
Remove the 2 screws and the 2 spacers as shown.
Note
If you have some scratch pieces sticked on this plate, you have to remove them.
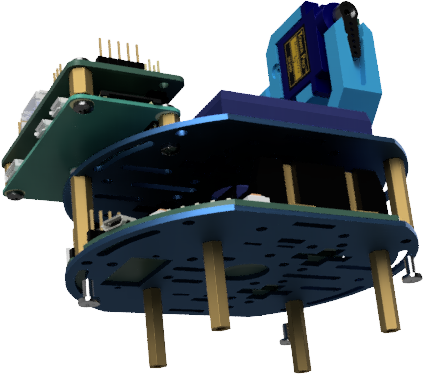
Step 6
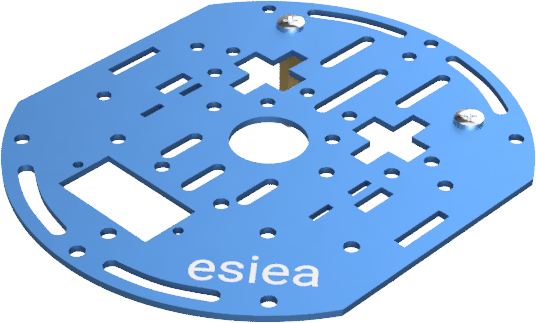
Take the intermediate plate in the orientation shown in the image above.
Warning
Attention, the orientation is very important.
Step 7
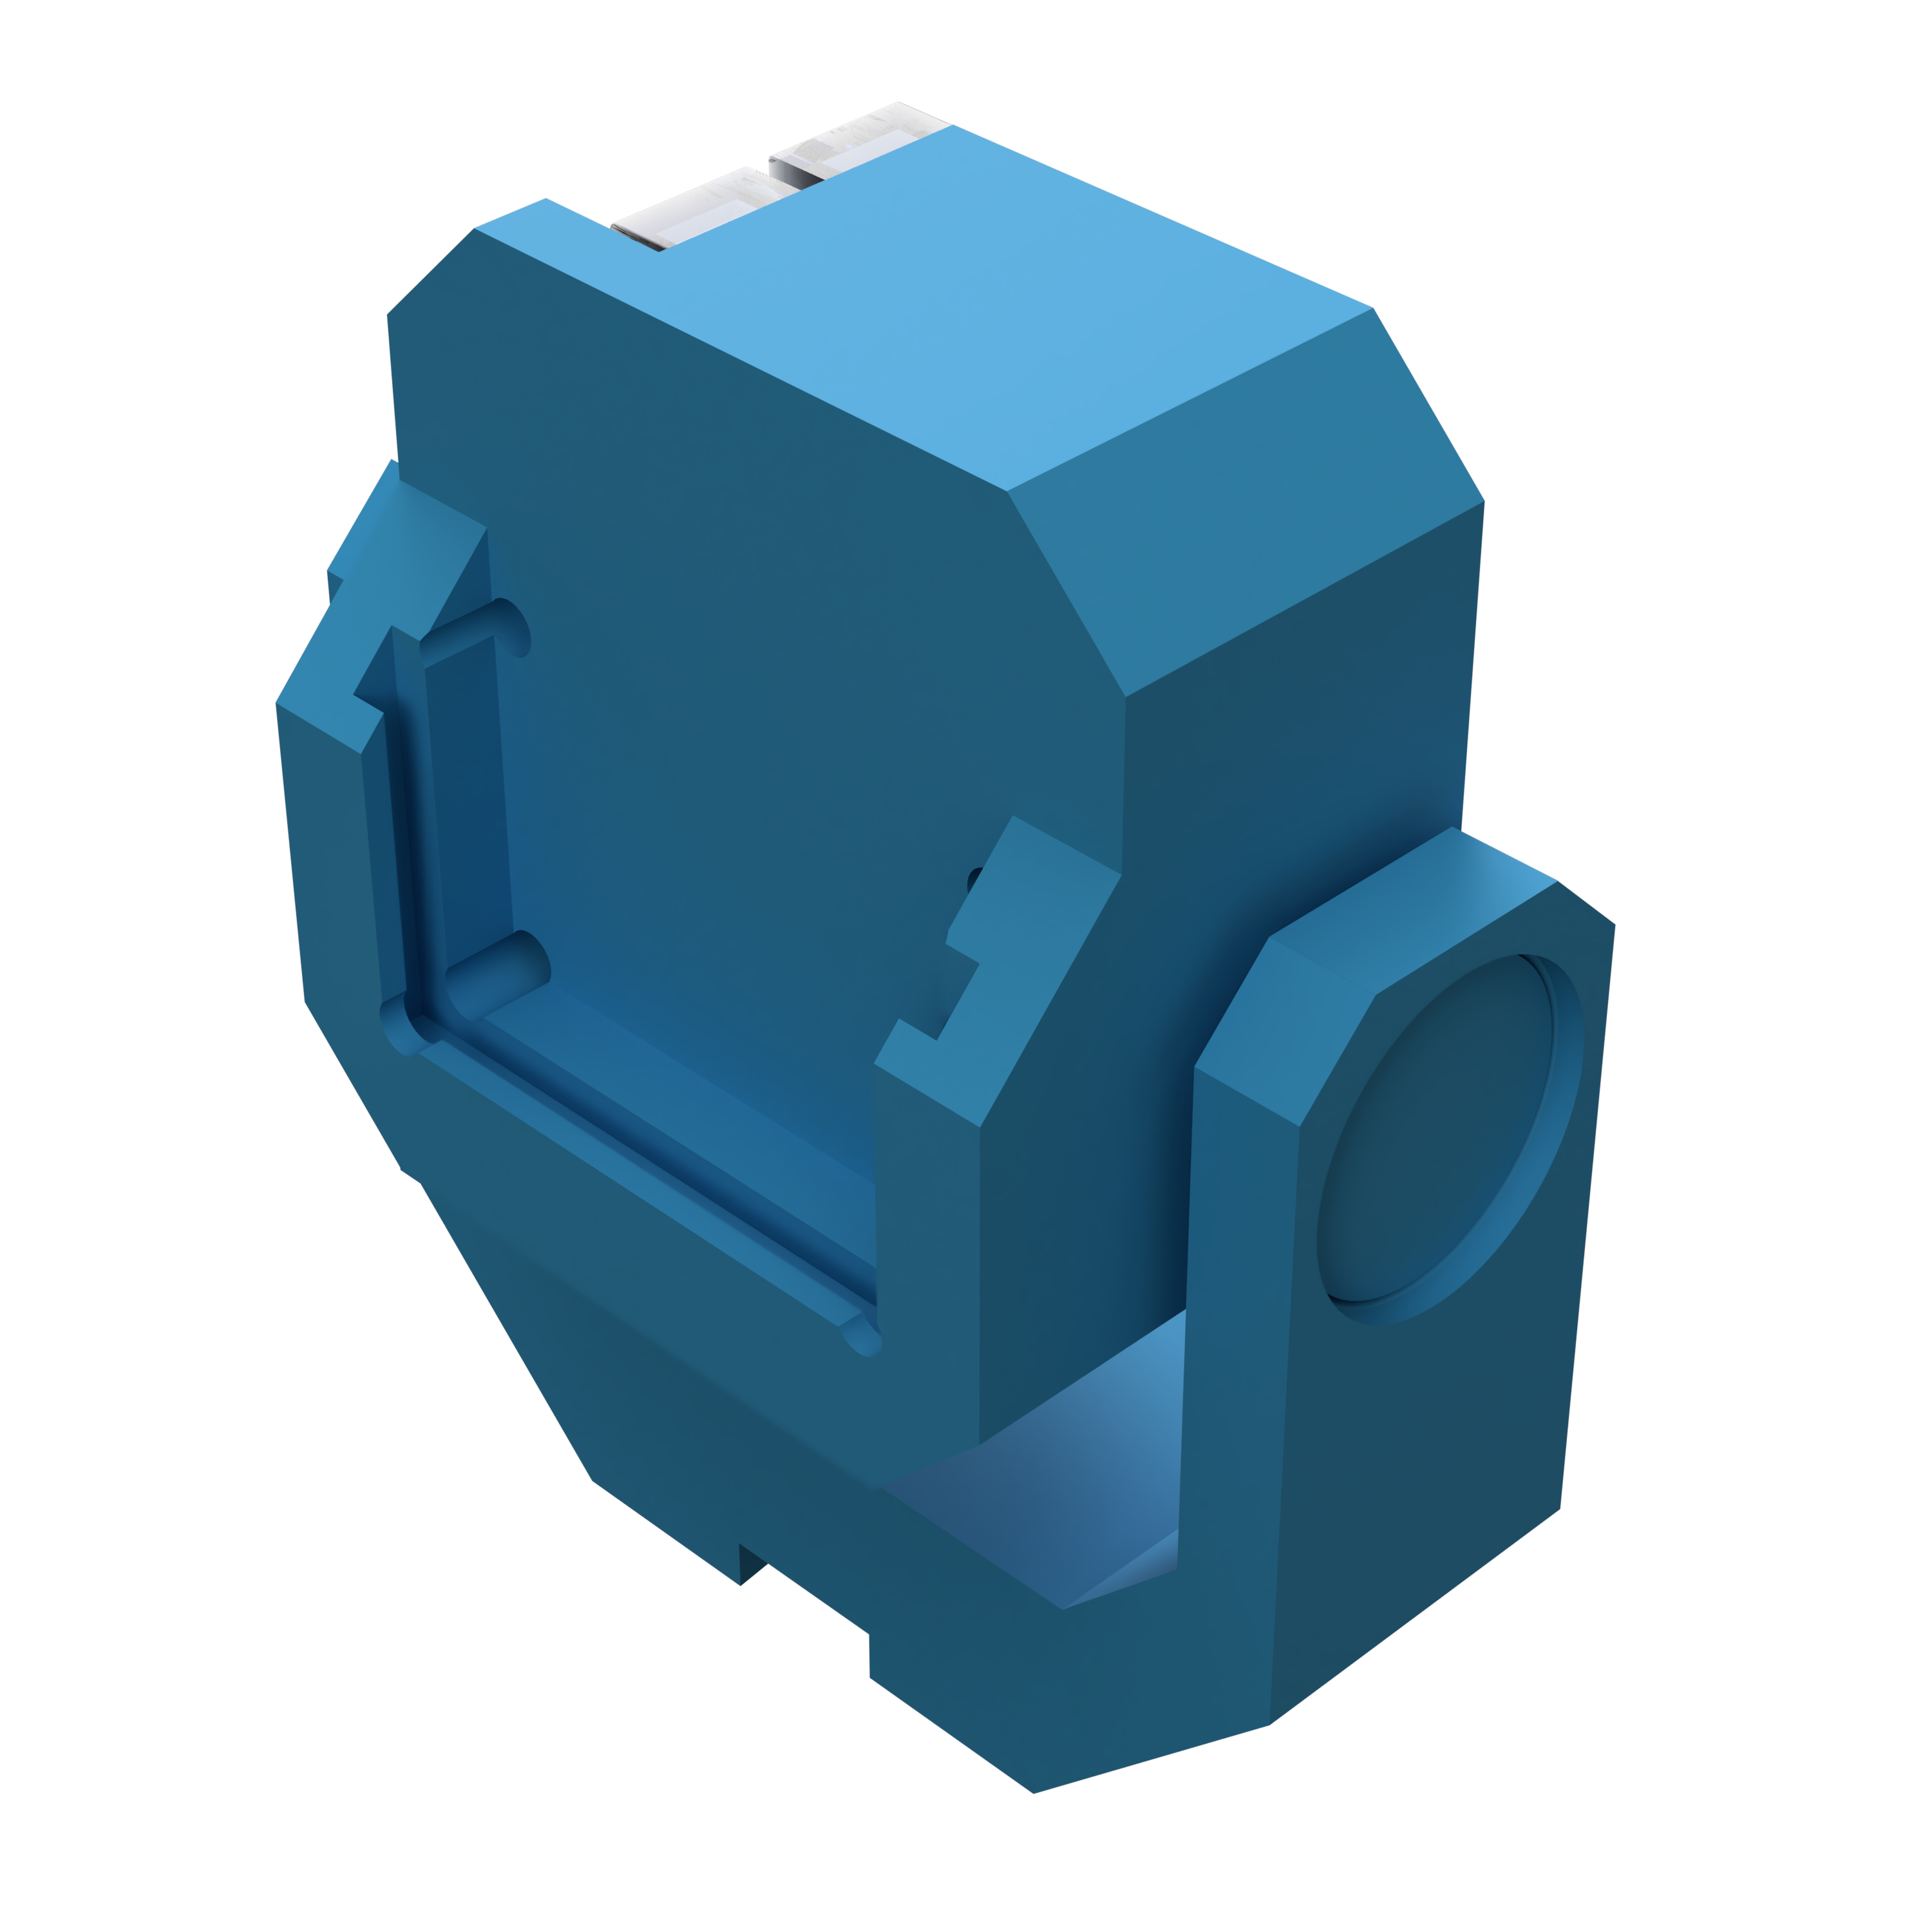
Position the power board as indicated.
Note
You should now install the power cable, it will be easier for the next steps.
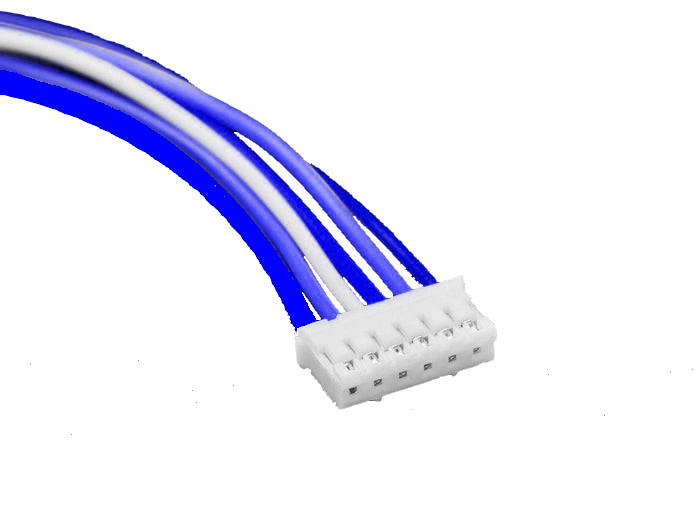
Warning
At this step, you can connect the male-male cable (blue or white) and not the multi-color cable provided with the old batteries. There is a specific orientation to follow, but you cannot go wrong as the cable only fits in one direction.
Step 8
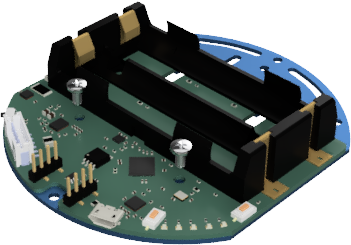
Position the 2 screws through the power board as shown.
Warning
If your screws are conductive, make sure they do not touch the components of the power board.
Step 9
Screw the 2 metal spacers back in.
Step 10
Screw the 3 screws holding the intermediate plate and the top plate.
Step 11
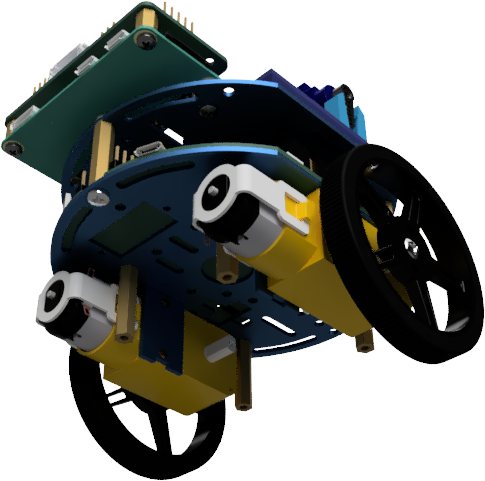
Reattach the 2 motors.
Step 12
Screw the 4 bottom screws back in.
Step 13
Connect the power cable between the power board and the add-on board.
Warning
At this step, you need to connect the male-male cable (blue or white) and not the multi-color cable provided with the old batteries. There is a specific orientation to follow, but you cannot go wrong as the cable only fits in one direction.
Step 14
Warning
Be careful, step 14 must only be done if you have an older operating system. If your SD card has been flashed after june 2024, you must ignore this step.
You now need to update some software on your esieabot. Turn it on using the ON/OFF button on the left of the power board. Then, run these commands on a terminal of your esieabot:
sudo raspi-config
# At this step, you need to go to interface, then disable legacy camera
sudo apt update
sudo apt upgrade
sudo apt install esieabot-display esieabot-power-manager
sudo mkdir /boot/firmware
sudo mv /boot/esieabot /boot/firmware/
sudo rm /esieabot
sudo ln -s /boot/firmware/esieabot /esieabot
sudo reboot
Step 15
Charging your esieabot is now done through the micro USB port on the power board. You can connect it to a USB charger or a computer. You can both charge and use your robot at the same time.